We recommend the reverse fire method, which is an excellent technique for lighting a fire in a wood-burning stove, as it promotes more efficient, more gradual combustion and produces much less smoke.
The method that is too often taught consists (wrongly) of putting the lighted kindling under the large logs, which has the effect of “boiling” (i.e. smoking) the upper layers instead of giving priority to heating the flue, thus reducing condensation and thus soot and clogging.
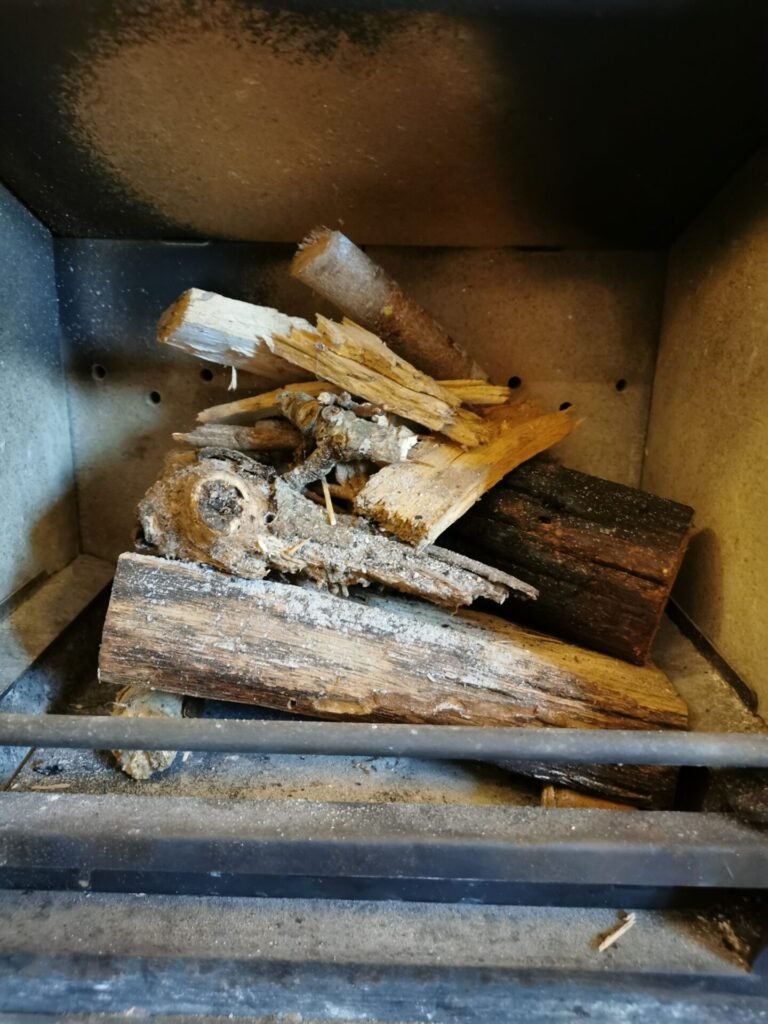
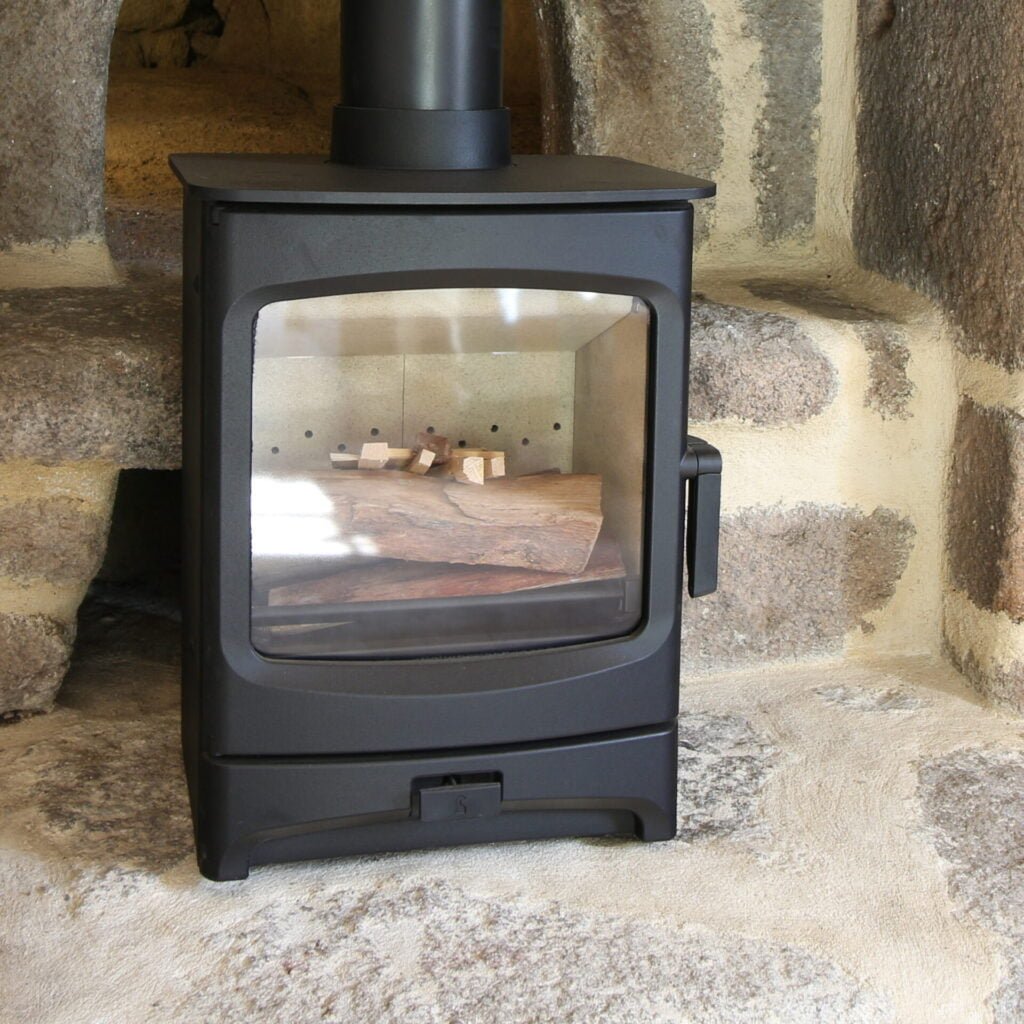
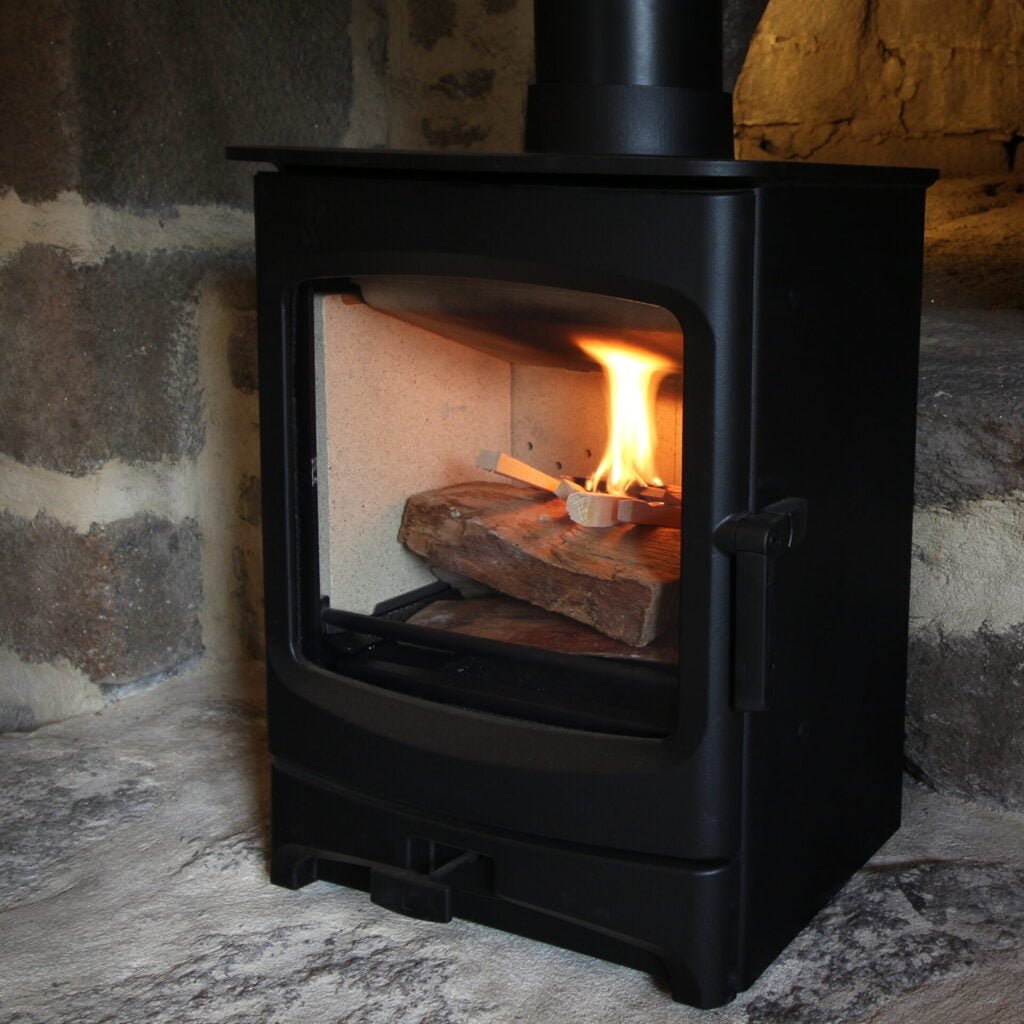
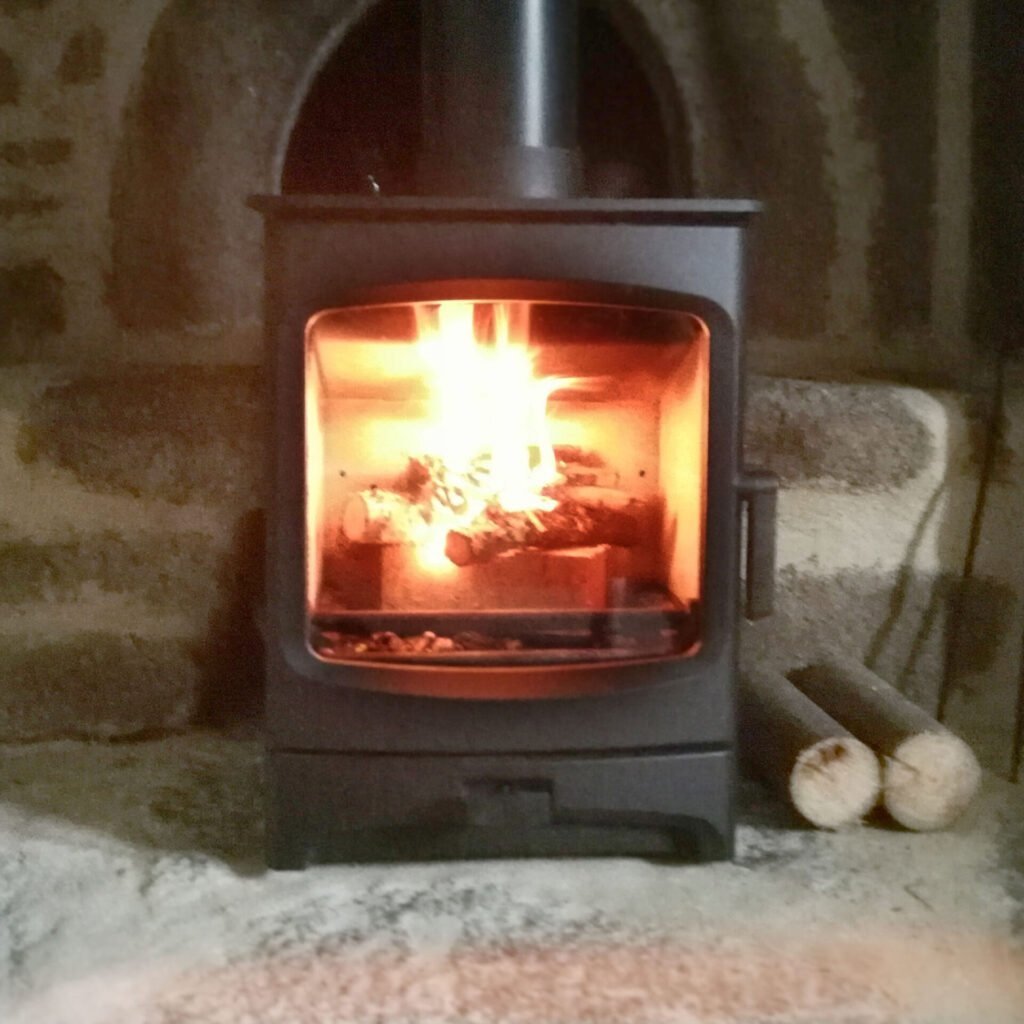
Here’s how you should proceed (see photos below for reference) for a good heat build-up and a comfortable, gentle temperature:
- Place 2 ‘large’ logs (7-10cm diameter) at the bottom of the stove: always keep them as far away as possible from the glass wall to prevent any smoke from blackening it. Start by placing the largest pieces of wood (logs) at the bottom of the stove, arranging them to create a solid base. Place 2 small pieces of wood underneath to promote air circulation and make sure that the logs are spaced far enough apart to allow air to circulate. Make sure that the length of your wood leaves a space on each side of the stove.
- Add 1 or 2 small logs: Make sure that these logs are also arranged in such a way as to leave space between them for the air to circulate.
- Arrange small twigs in a “teepee” shape on a fire starter : Never use paper to help light the fire. It burns very quickly, its effectiveness is uncertain and, above all, it clogs up the flues.
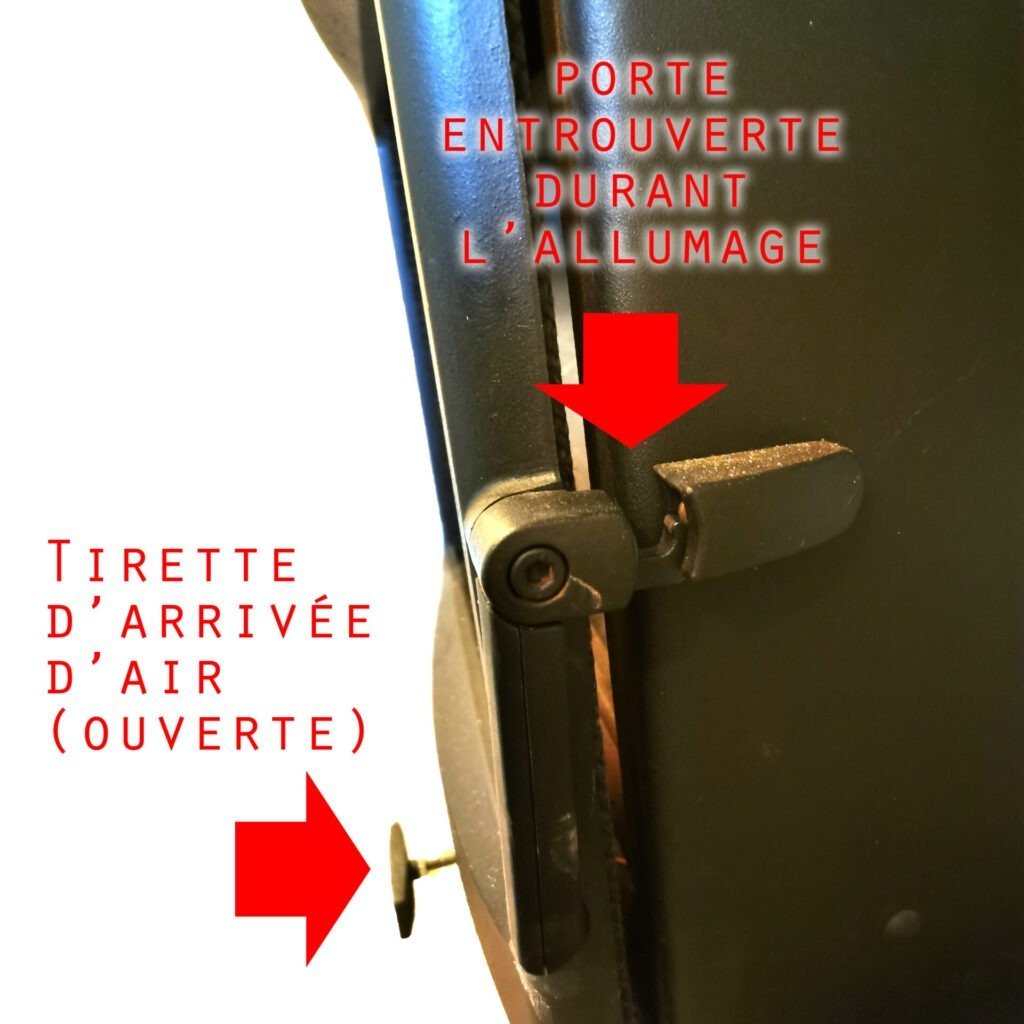
- Create an air vent : Pull the bottom knob all the way out and leave the door ajar by wedging the handle.
- Light the fire: Light your fire starter at the top of the pile with a match. The heat produced will gradually radiate down to light the larger logs below.
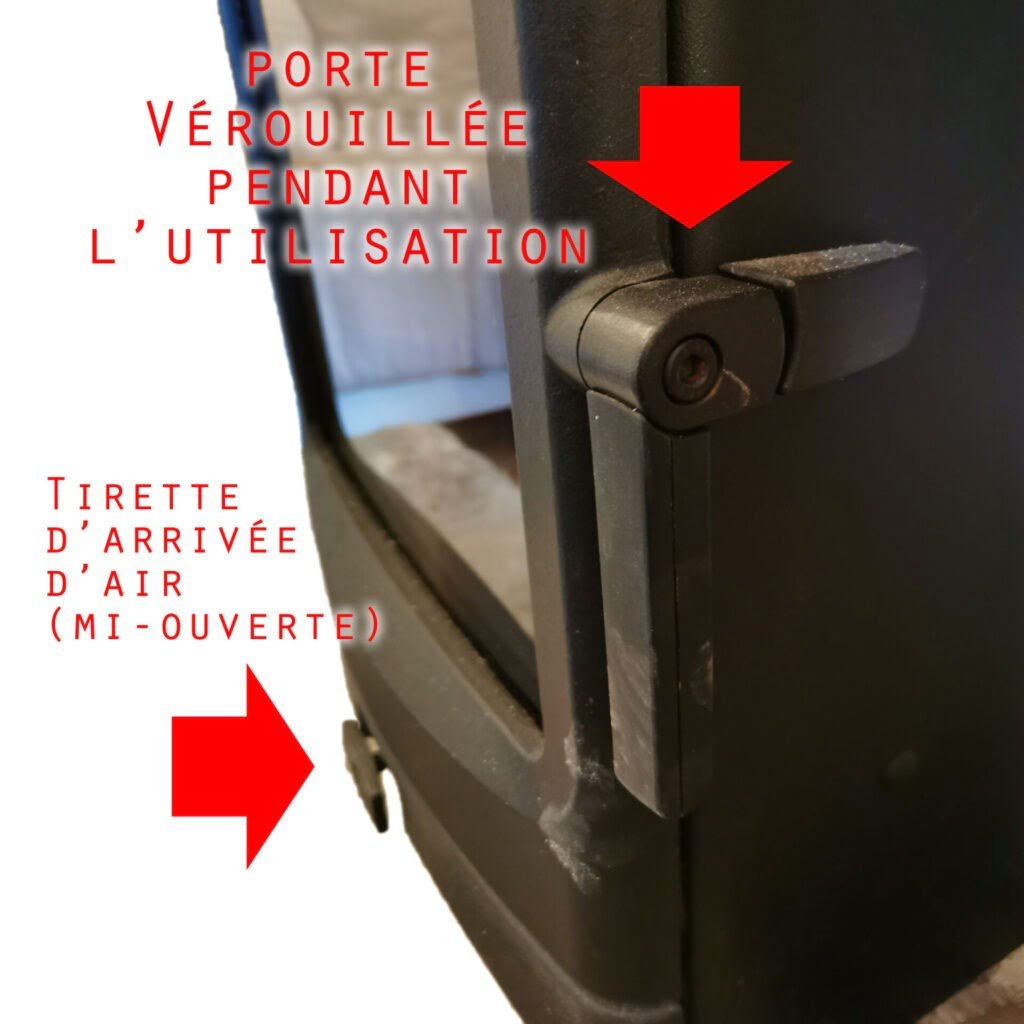
- Control the air: When the fire starts to burn and the flames start to ‘lick’ the stove’s ceiling, close the door (usually after 10 minutes) and then the stove’s air damper (pull tab) to reduce the oxygen supply to the smallest notch (do not close all the way). This will help control combustion and extend the life of the fire.
- Add more wood: Once the fire is well established, you can add more medium-sized logs to keep the fire going. Make sure you never overload the stove so as not to smother the combustion or cause smoking. It’s better to add an occasional log to a nice bed of embers than to overload, as this will reduce efficiency and cause the fire to go out.
- Cleaning the ash pan: This is not necessary every day, as your wood pile needs to be well enough put together to ‘breathe’. These ashes also allow the embers to continue to burn ‘slowly’ during the night.
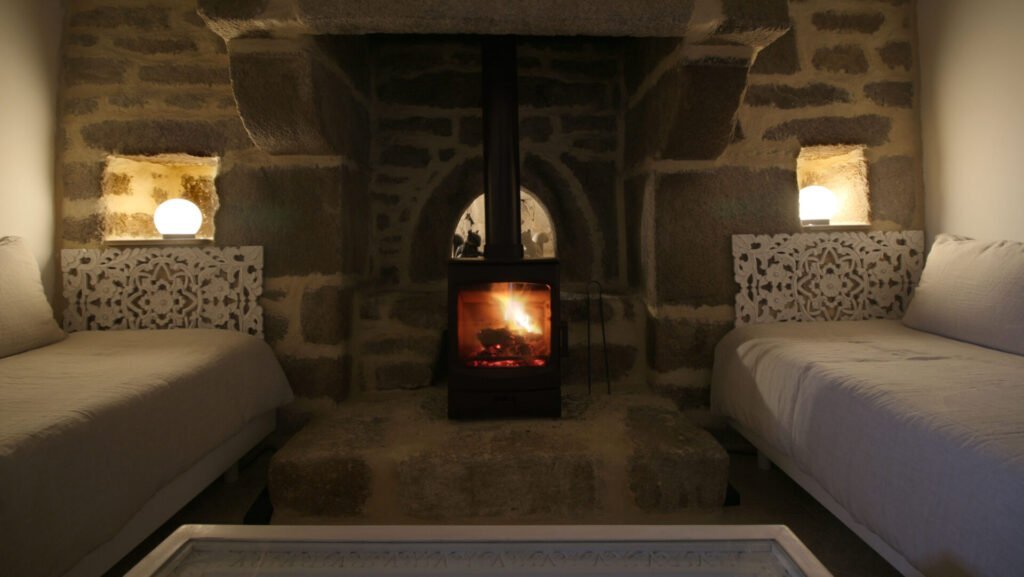
The reverse fire method is renowned for creating a slow, even burn, which means you won’t need to add wood as frequently. It’s also much more efficient at heating your space, reduces smoke emissions and is applicable to all types of wood fire. Make sure you follow these instructions, which also come from the wood-burning stove manufacturer, for safe and efficient operation.

